1. Ievads
Thank you for choosing the Ortis Above Ground Smart Pool Timer. This device is designed to automate the operation of your pool pump and salt system, enhancing energy efficiency and simplifying your pool maintenance routine. Featuring dual waterproof outlets, a clear LCD display, and flexible timing functions, this timer is built for reliable outdoor performance. Please read this manual thoroughly before installation and operation to ensure proper use and to maximize the lifespan of your product.
2. Drošības informācija
- Elektriskā drošība: Always ensure the timer is connected to a properly grounded outlet. Do not immerse the timer in water.
- Maksimālā slodze: The total current for all connected appliances must not exceed 15 Amperes (15A). Overloading can cause damage to the timer and connected devices, and poses a fire hazard.
- Izmantošana ārpus telpām: This timer is designed for outdoor use and features waterproof outlets. However, ensure all connections are secure and protected from direct water spray.
- Atvienošana: Disconnect power before performing any maintenance or when the timer is not in use for extended periods.
- Bērni: Sargāt no bērniem. Šī nav rotaļlieta.
- Bojājumi: Do not operate the timer if the cord, plug, or housing is damaged. Contact customer support for assistance.
3. Iepakojuma saturs
Lūdzu, pārbaudiet, vai iepakojumā nav šādu priekšmetu:
- Ortis Above Ground Smart Pool Timer (Model KJ-139)
- Lietošanas pamācība
4. Produkts beidziesview
Familiarize yourself with the components of your Ortis Smart Pool Timer.
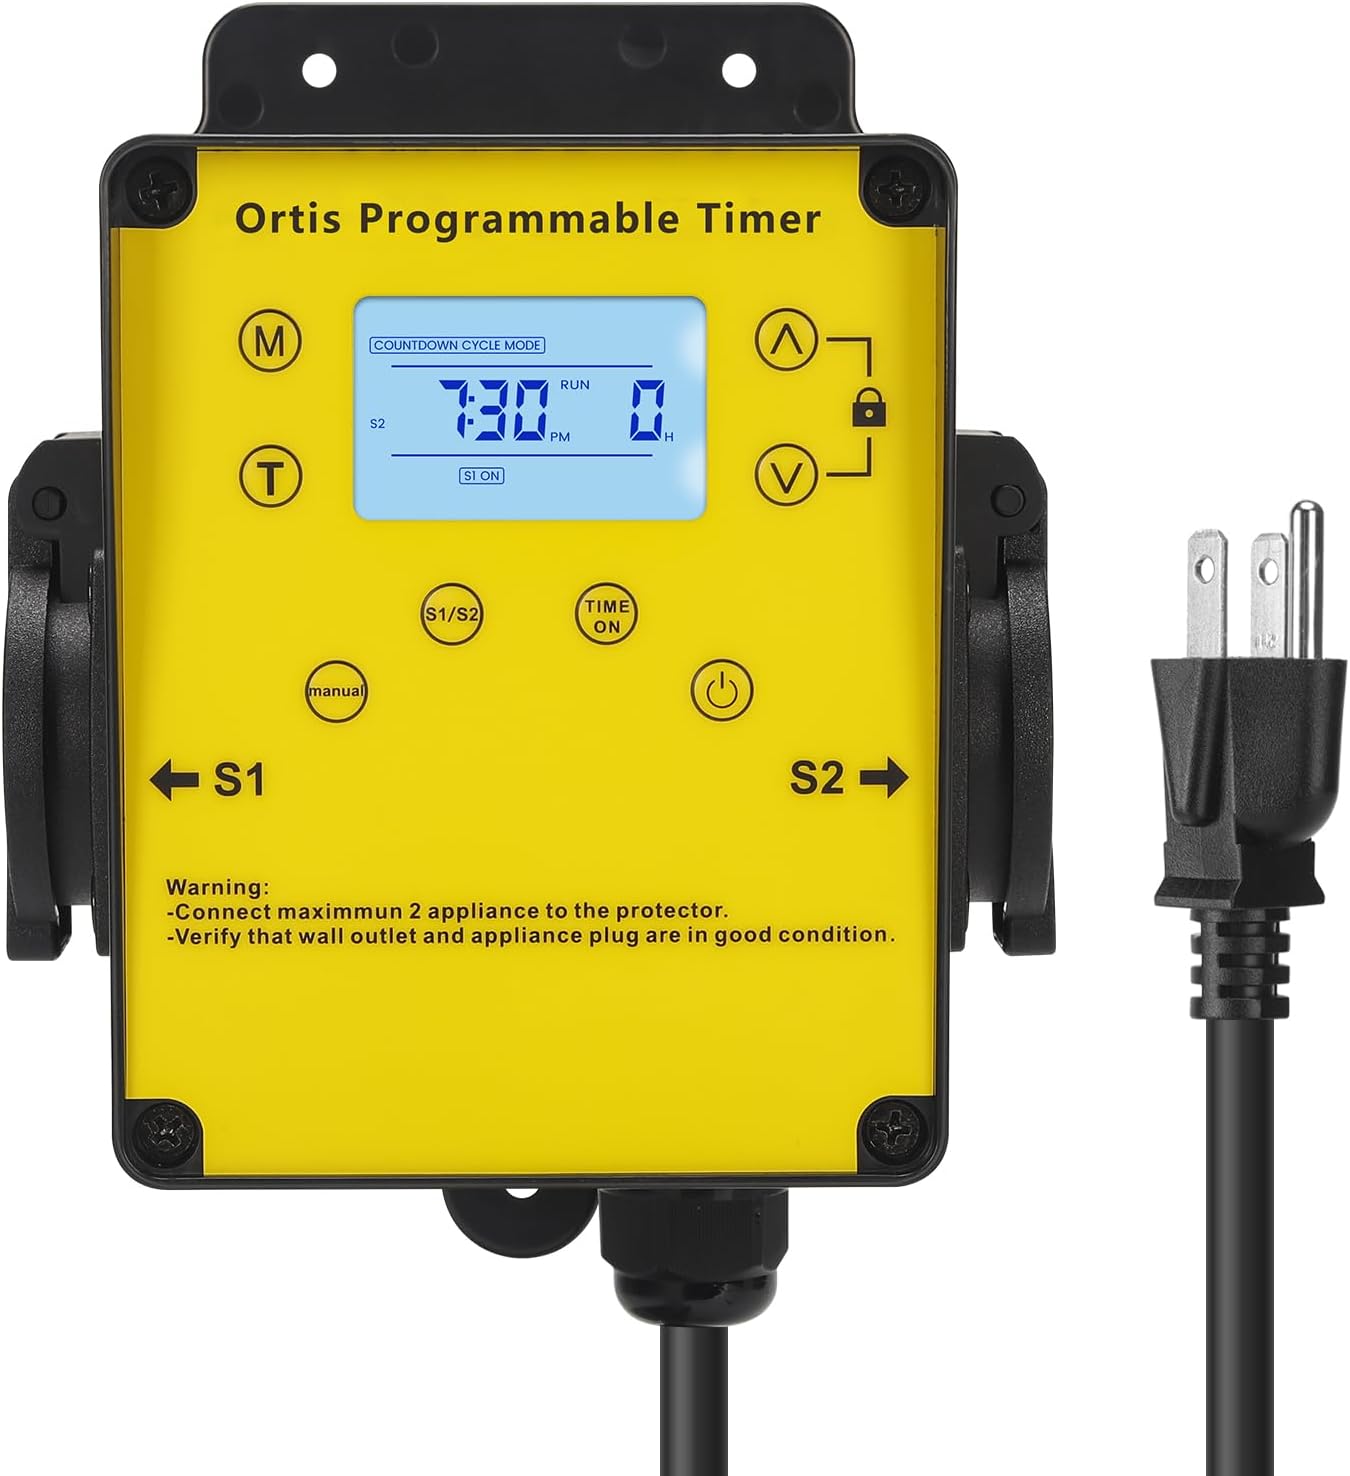
4.1. attēls: Priekšpuse view of the Ortis Smart Pool Timer, showing the LCD display, control buttons, and dual outlets (S1 and S2).
4.1. Sastāvdaļas
- LCD displejs: Shows current time, mode, and operational status.
- (M) režīma poga: Cycles through different operating modes (Countdown, 24H Auto Cycle).
- (T) Time Button: Izmanto, lai iestatītu pašreizējo laiku.
- (^) Up Button: Adjusts values upwards.
- (V) Down Button: Adjusts values downwards.
- Bloķēšanas poga: Locks/unlocks the display to prevent accidental changes.
- (Manual) Button: Manually turns outlets S1/S2 ON or OFF.
- (Time ON) Button: Used in 24H Auto Cycle mode to set ON times.
- (Barošanas) poga: Turns the timer unit ON/OFF.
- S1 & S2 Outlets: Dual waterproof outlets for connecting appliances.
- Strāvas vads: Connects the timer to a wall outlet.

4.2. attēls: Detalizēti view of the LCD screen, showing time, mode, and status indicators.

4.3. attēls: View of the waterproof outlet covers, designed for outdoor protection.
5. Iestatīšana
5.1. Taimera uzstādīšana
- Choose a suitable location near your pool or water feature, ensuring it is within reach of a grounded outdoor power outlet and your appliances.
- Mount the timer securely to a wall or sturdy post using appropriate screws (not included). Ensure it is at a height that allows for easy access to the display and buttons, and that the outlets face downwards to prevent water ingress.
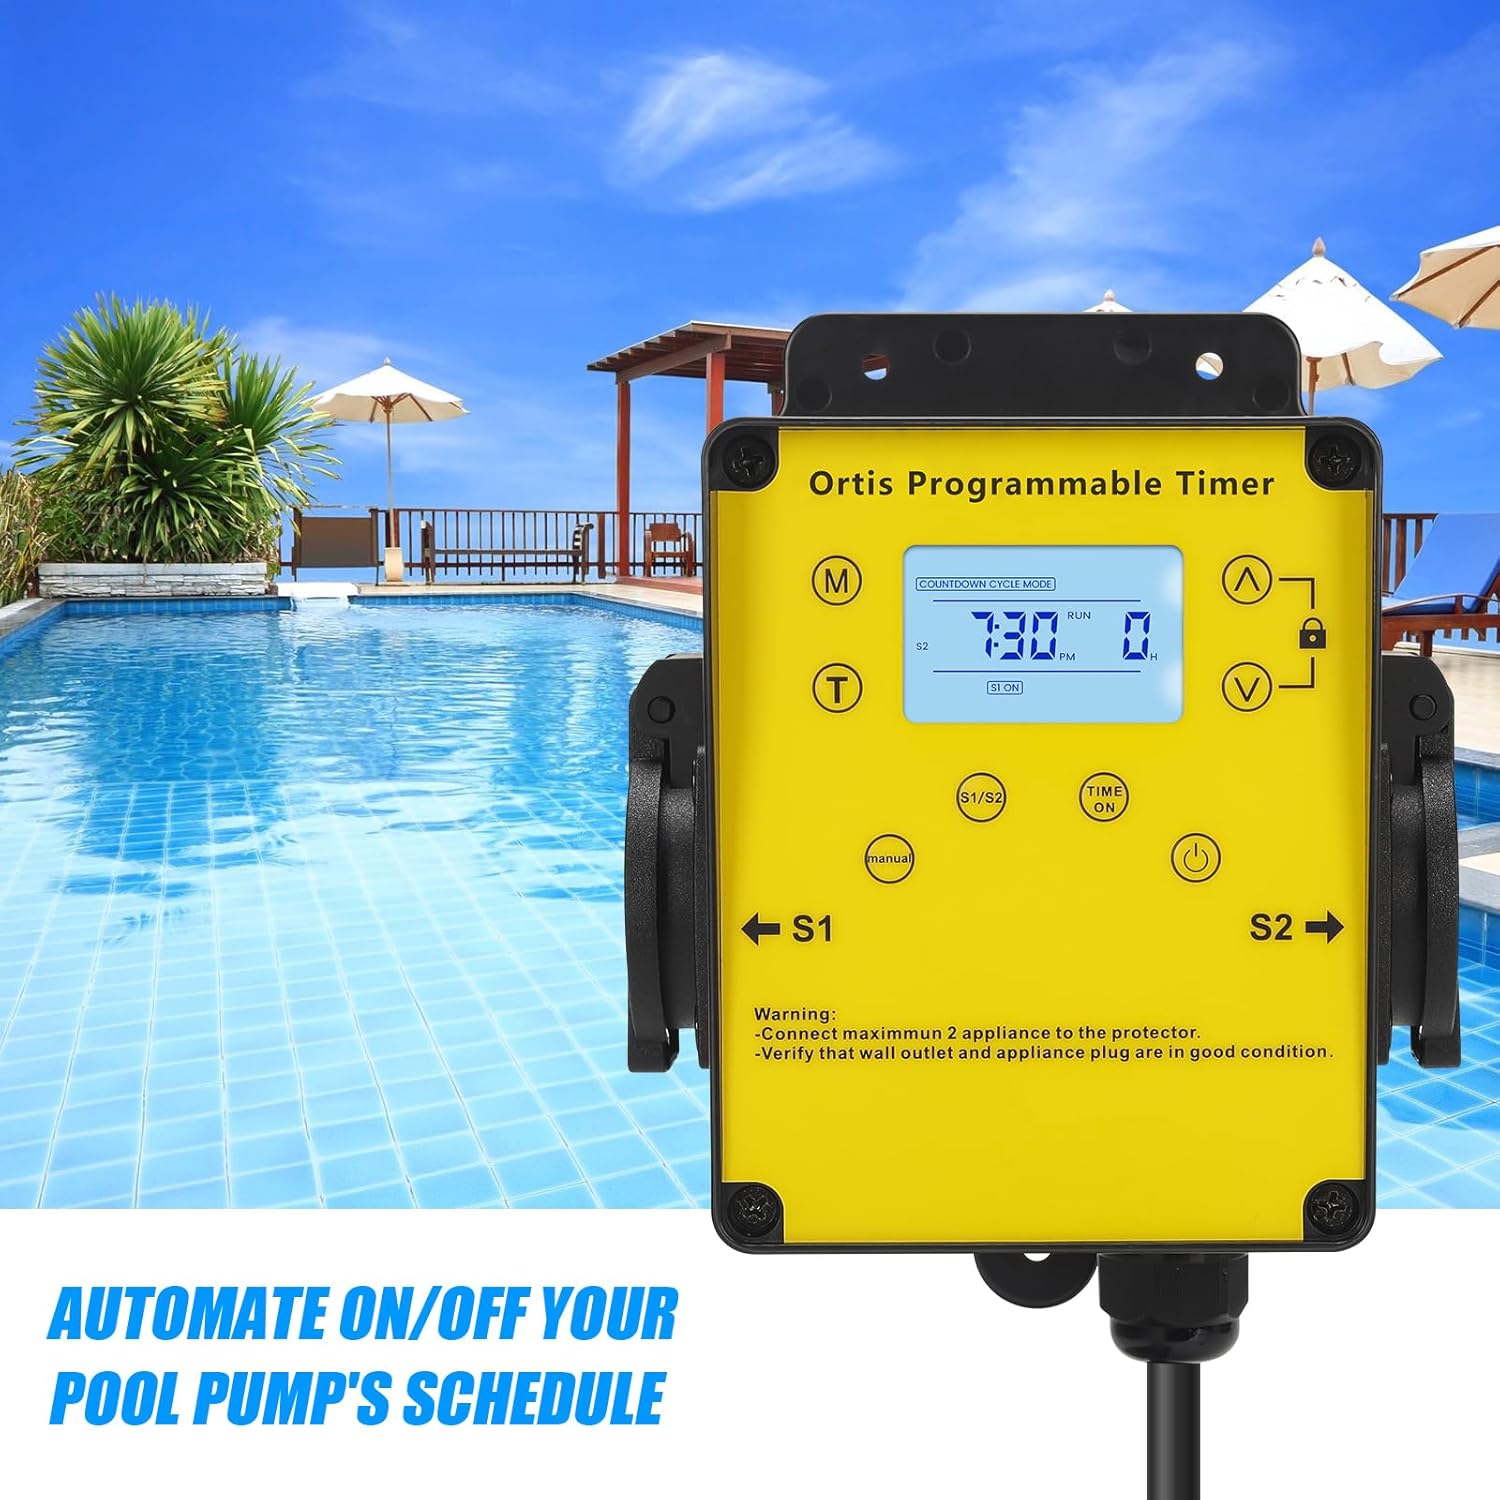
5.1. attēls: The timer mounted on a wall, positioned for convenient access near a pool.
5.2. Savienojuma izveide ar strāvas padevi
- Plug the timer's power cord into a grounded 120V AC outdoor electrical outlet.
- The LCD display should illuminate. If not, press the Power button.
5.3. Ierīču pievienošana
- Open the waterproof covers for outlets S1 and S2.
- Plug your pool pump into one outlet (e.g., S1) and your salt system or other appliance into the other outlet (e.g., S2).
- Ensure the total current draw of all connected appliances does not exceed 15A.
- Close the waterproof covers securely around the appliance plugs to maintain weather resistance.

5.2. attēls: The timer with a pool pump and salt chlorinator connected to its dual outlets.
6. Lietošanas instrukcijas
6.1. Pašreizējā laika iestatīšana
- Nospiediet un turiet (T) Time pogu, līdz sāk mirgot stundu cipari.
- Izmantojiet (^) Up un (V) Down buttons to adjust the hour. Pay attention to AM/PM.
- Nospiediet pogu (T) Time button again to move to minute adjustment. Use (^) Up un (V) Down noteikt minūtes.
- Nospiediet pogu (T) Time button one more time to confirm and exit time setting.
6.2. Atpakaļskaitīšanas režīms
This mode allows you to set a specific duration for the connected appliances to run before automatically turning off.
- Nospiediet pogu (M) režīms button until "COUNTDOWN CYCLE MODE" appears on the display.
- The hour digits for the countdown will flash. Use the (^) Up un (V) Down buttons to set the desired running hours.
- Nospiediet pogu (M) režīms button again to move to minute adjustment. Use (^) Up un (V) Down to set the desired running minutes.
- Nospiediet pogu (M) režīms button once more to confirm the countdown duration.
- The timer will now display the countdown. The connected appliances will turn ON and run for the set duration, then turn OFF automatically.
6.3. 24H Auto Cycle Mode
This mode allows you to program daily ON/OFF schedules for your appliances.
- Nospiediet pogu (M) režīms button until "24H AUTO CYCLE MODE" appears on the display.
- Nospiediet pogu (Time ON) button to enter program setting. The display will show "1 ON".
- Izmantojiet (^) Up un (V) Down buttons to set the desired ON time (hour and minute). Press (Time ON) lai pārslēgtos starp stundu un minūti.
- After setting the ON time, press (Time ON) vēlreiz. Displejā tiks parādīts "1 OFF".
- Izmantojiet (^) Up un (V) Down buttons to set the desired OFF time (hour and minute). Press (Time ON) lai pārslēgtos starp stundu un minūti.
- You can set multiple ON/OFF programs (e.g., 2 ON, 2 OFF, etc.) by repeating steps 3-5. The timer supports multiple programs.
- Once all programs are set, press the (M) režīms button to exit program setting and activate the 24H Auto Cycle mode. The timer will now follow your programmed schedule daily.
6.4. Manuāla ignorēšana
To manually turn the connected appliances ON or OFF, regardless of the programmed schedule:
- Nospiediet pogu (Rokasgrāmata) button. Each press will cycle through ON, OFF, and AUTO modes for the outlets.
- In AUTO mode, the timer will follow the programmed schedule.
6.5. Bloķēšanas funkcija
Lai novērstu nejaušas iestatījumu izmaiņas:
- Nospiediet un turiet Slēdzene button for approximately 3 seconds to lock the keypad. A lock icon will appear on the display.
- Repeat the action to unlock the keypad. The lock icon will disappear.
7. Apkope
- Tīrīšana: Disconnect the timer from power before cleaning. Wipe the exterior with a soft, damp audums. Neizmantojiet abrazīvus tīrīšanas līdzekļus vai šķīdinātājus.
- Pārbaude: Regularly inspect the power cord, plug, and outlets for any signs of damage or wear. Ensure waterproof covers are intact and properly sealed.
- Uzglabāšana: If storing the timer for an extended period, disconnect it from power, clean it, and store it in a dry, cool place away from direct sunlight.
8. Traucējummeklēšana
| Problēma | Iespējamais cēlonis | Risinājums |
|---|---|---|
| Timer display is off or not responding. | No power; Timer is off; Internal battery low. | Ensure the timer is plugged into a live outlet. Press the Jauda button. If the problem persists, contact support. |
| Appliances not turning ON/OFF as programmed. | Incorrect program settings; Timer in Manual mode; Appliances not properly connected. | Verify program settings in 24H Auto Cycle mode. Ensure the timer is in AUTO mode (not Manual). Check appliance plugs are fully inserted into the timer outlets. |
| Appliances not receiving power in any mode. | Overload; Faulty appliance; Timer malfunction. | Check if the total load exceeds 15A. Test appliances directly in a wall outlet. If they work, the timer may be faulty. Contact support. |
| Tastatūra nereaģē. | Tastatūra ir bloķēta. | Nospiediet un turiet Slēdzene button for 3 seconds to unlock the keypad. |
9. Specifikācijas
- Modelis: KJ-139
- Ievades apjomstage: 120V AC, 60Hz
- Maksimālā slodze: 15A / 1800W
- Tirdzniecības vietas: 2 iezemētas izejas
- Darbības režīmi: Countdown, 24H Auto Cycle, Manual
- Displejs: LCD
- Izmēri (A x P x D): Aptuveni 4.9 cm x 3.3 cm x 3.9 cm
- Strāvas vada garums: Aptuveni 4.7 pēdas
- Vides novērtējums: Outdoor Rated, Waterproof Outlets

9.1. attēls: Product dimensions of the Ortis Smart Pool Timer.
10. Garantija un atbalsts
10.1. Informācija par garantiju
Ortis products are manufactured to high-quality standards. This product is covered by a limited warranty against defects in materials and workmanship from the date of purchase. Please retain your proof of purchase for warranty claims. The warranty does not cover damage caused by misuse, improper installation, unauthorized repairs, or natural disasters.
10.2. Klientu atbalsts
If you have any questions, require assistance with setup, or encounter any issues not covered in this manual, please contact Ortis customer support. Refer to the product packaging or the Ortis brand store on Amazon for contact details.