1. Produkts beidziesview
The Lutron Maestro MS-OPS6M2N-DV-WH is an advanced occupancy/vacancy sensor switch designed to automatically control lighting in a room. This device utilizes passive infrared (PIR) technology to detect human motion and presence, ensuring lights are only on when needed. It combines the functionality of a standard light switch with an integrated motion sensor, offering convenience and energy savings.
Galvenās funkcijas:
- Passive infrared motion detection with Lutron XCT technology for fine motion sensing.
- 180-degree sensor field-of-view for comprehensive room coverage.
- Requires a neutral wire for installation.
- Occupancy version supports both auto-on/auto-off and manual-on/auto-off modes.
- Vacancy version is available to comply with CA Title 24 requirements.
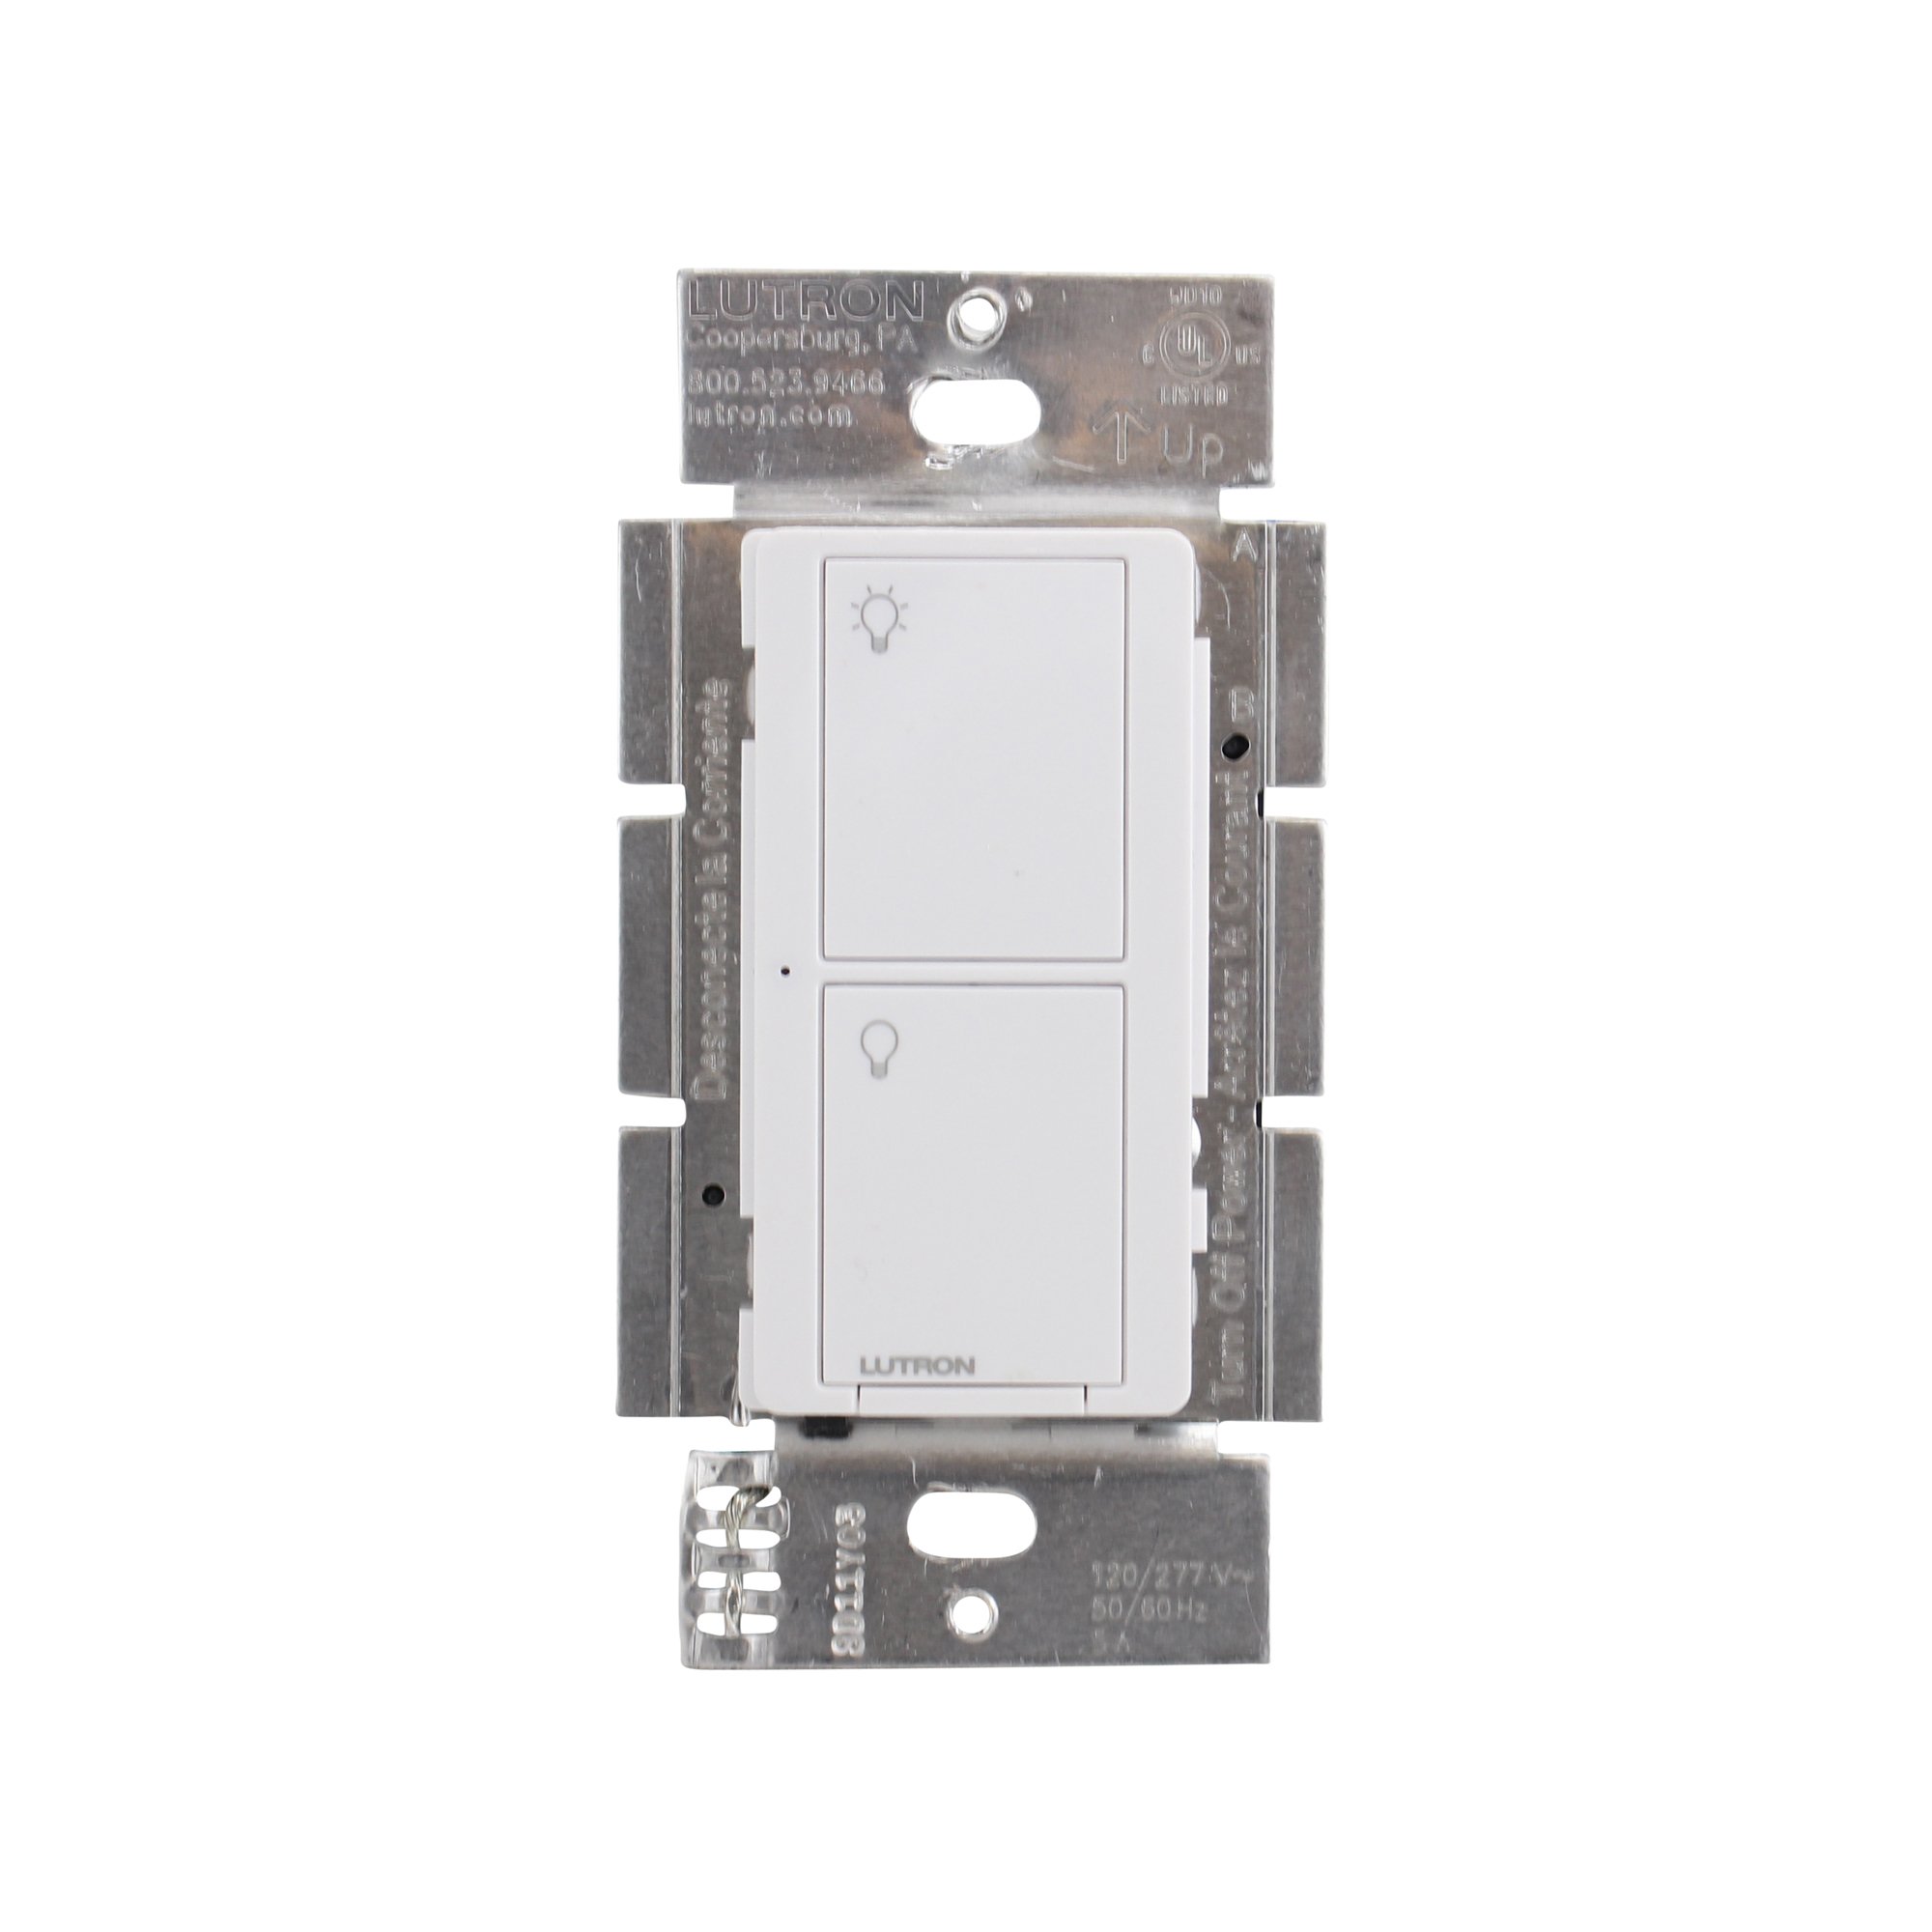
1. attēls. Priekšpuse view of the Lutron Maestro MS-OPS6M2N-DV-WH sensor switch.
2. Iestatīšana un instalēšana
Svarīga drošības informācija: Before beginning installation, turn off power at the circuit breaker or fuse box. Incorrect installation can lead to electrical shock or fire. If you are unsure about any part of these instructions, consult a qualified electrician.
Nepieciešamie rīki: Screwdriver (Phillips and flathead), wire strippers, electrical tape.
2.1 Instrukcijas par pieslēgšanu
- Izslēgt strāvu: Locate the circuit breaker controlling the switch you are replacing and turn it OFF. Verify power is off using a voltage testeris.
- Noņemt esošo slēdzi: Carefully remove the wall plate and unscrew the existing switch from the wall box. Disconnect the wires from the old switch.
- Identificējiet vadus:
- Hot (Line) Wire: Typically black, brings power from the circuit breaker.
- Slodzes vads: Typically black, connects to the light fixture.
- Neitrālais vads: Typically white, required for this switch.
- Zemējuma vads: Parasti tīrs varš vai zaļa krāsa.
Note: If you are replacing a 3-way switch, you will also have traveler wires. This model supports 3-way circuits. Refer to the detailed wiring diagram for 3-way installations.
- Connect Wires to Maestro Switch:
- Savienojiet zemējuma vads from the wall box to the green ground wire on the Maestro switch.
- Savienojiet neitrāls vads from the wall box to the white neutral wire on the Maestro switch.
- Savienojiet hot (line) wire un slodzes vads from the wall box to the two black wires on the Maestro switch. If the light does not function correctly, swap these two black wires.
- For 3-way applications, connect the traveler wires as per the specific 3-way wiring diagram provided with the product packaging.
- Drošs slēdzis: Carefully push the wired switch into the wall box, ensuring wires are not pinched. Screw the switch into place.
- Uzstādiet sienas plāksni: Attach the decorative wall plate.
- Atjaunot jaudu: Ieslēdziet strāvas padevi atpakaļ ar ķēdes pārtraucēju.

2. attēls: Piemample wiring diagram for a single-pole installation. Consult the included manual for 3-way wiring.
3. Lietošanas instrukcijas
The Maestro sensor switch offers flexible operation modes to suit various needs.
3.1 Darbības režīmi
- Occupancy Mode (Auto-On/Auto-Off): In this mode, the lights automatically turn ON when motion is detected and automatically turn OFF after a set time delay when no motion is detected. This is ideal for high-traffic areas where hands-free operation is desired.
- Vacancy Mode (Manual-On/Auto-Off): In this mode, the lights must be manually turned ON by pressing the switch button. They will then automatically turn OFF after a set time delay when no motion is detected. This mode is often used to meet energy codes and provides more control over when lights are initially activated.
3.2 Iestatījumu pielāgošana
The Maestro sensor switch typically has small buttons or dip switches behind the wall plate for adjusting settings such as:
- Laika aizkave: How long the lights remain on after the last detected motion (e.g., 1, 5, 15, 30 minutes).
- Jutība: The level of motion required to trigger the sensor.
- Darbības režīms: Switching between Occupancy (Auto-On) and Vacancy (Manual-On) modes.
Refer to the detailed instructions included with your product for specific steps on how to access and adjust these settings.
4. Apkope
The Lutron Maestro sensor switch requires minimal maintenance to ensure optimal performance.
- Tīrīšana: To clean the surface of the switch, use a soft, damp audumu. Nelietojiet abrazīvus tīrīšanas līdzekļus, šķīdinātājus vai spēcīgas ķīmiskas vielas, jo tās var sabojāt apdari vai iekšējās sastāvdaļas.
- Sensora aizsprostojums: Ensure the sensor lens is not obstructed by furniture, curtains, or other objects that could block its field of view. A clear path to the sensor is crucial for accurate motion detection.
- Putekļu uzkrāšanās: Periodically wipe the sensor lens to prevent dust accumulation, which can reduce sensitivity.
5. Traucējummeklēšana
If you encounter issues with your Maestro sensor switch, refer to the following common troubleshooting steps:
- Lights do not turn ON automatically (Occupancy Mode):
- Verify the sensor's field of view nav traucēta.
- Check the sensitivity setting; it might be too low.
- Ensure the switch is in Occupancy (Auto-On) mode.
- Confirm power is supplied to the switch.
- Lights do not turn OFF:
- Ensure there is no continuous motion within the sensor's range.
- Check the time delay setting; it might be set too long.
- Verify the switch is correctly wired, especially the load wire.
- Lights flicker or behave erratically:
- Confirm that a neutral wire is properly connected. This switch requires a neutral wire for stable operation.
- Pārliecinieties, vai visi vadu savienojumi ir droši.
- If in a 3-way setup, ensure compatible companion switches are used and wired correctly.
- Switch is unresponsive:
- Turn off power at the circuit breaker for 15 seconds, then restore power. This can reset the switch.
- Pārbaudiet visus vadu savienojumus, vai tie nav vaļīgi vai nepareizi novietoti.
If these steps do not resolve the issue, contact Lutron customer support for further assistance.
6. Specifikācijas
| Funkcija | Detaļas |
|---|---|
| Modeļa numurs | MS-OPS6M2N-DV-WH |
| Zīmols | Lutron |
| Darbības režīms | Automātiski |
| Kontaktpersonas veids | Parasti atvērts |
| Savienotāja veids | Skrūvju spailes |
| Terminālis | Skrūve |
| Vienuma izmēri (G x P x A) | 2.2 x 2.2 x 4.5 collas |
| Ķēdes tips | 3 virzienu |
| Izpildmehānisma tips | Spiedpoga |
| Kontaktu materiāls | Varš |
| Starptautiskās aizsardzības novērtējums | IP54 |
| Kontroles metode | Pieskarieties |
| Savienojamības protokols | Infrasarkanais |
| Krāsa | Balts |
| Preces svars | 3.52 unces |
| Nepieciešams neitrāls vads | Jā |
7. Produktu video
7.1 Lutron Maestro Sensor Switch Overview
1. video: oversview of the Lutron Maestro sensor switch features and benefits. This video provides a general introduction to the product's capabilities.
7.2 Advanced Features and Configuration
Video 2: A detailed look into the advanced features and configuration options of the Lutron Maestro sensor switch, including setting adjustments.
8. Informācija par garantiju
Lutron products typically come with a limited warranty covering defects in materials and workmanship. For specific warranty terms and conditions applicable to your MS-OPS6M2N-DV-WH sensor switch, please refer to the warranty card included in the product packaging or visit the official Lutron webvietne. Saglabājiet pirkuma apliecinājumu garantijas prasību iesniegšanai.
9. Klientu atbalsts
For technical assistance, troubleshooting, or product inquiries, please contact Lutron customer support. You can find contact information on the official Lutron webvietnē vai produkta dokumentācijā.
Tiešsaistes resursi:
- Apmeklējiet ierēdni Lutron Store on Amazon lai iegūtu vairāk produktu un informācijas.
- Refer to the comprehensive FAQs and support documents available on the Lutron corporate webvietne.


