1. Ievads
This manual provides detailed instructions for the installation, setup, and operation of your LoraTap WiFi Smart Relay Switch (Model RR400W). Please read this manual thoroughly before use to ensure proper functionality and safety.
Iepakojuma saturs:
- LoraTap WiFi Smart Relay Switch (RR400W)
- Lietotāja rokasgrāmata
- Mounting accessories (screws, anchors, mini screwdriver, electrical wires)

Image 1.1: LoraTap WiFi Smart Relay Switch (Model RR400W) and its mobile application interface.
2. Drošības informācija
- BRĪDINĀJUMS: Electrical installation should only be performed by a qualified electrician or in accordance with local electrical codes.
- Pirms ierīces uzstādīšanas vai apkopes vienmēr atvienojiet strāvas padevi no ķēdes pārtraucēja.
- Šī ierīce ir paredzēta lietošanai tikai iekštelpās.
- Nepārsniedziet maksimālo slodzes vērtību 10 A / 2500 W.
- Ensure the device is installed in a location with a neutral wire for correct electrical supply.
- Uzglabāt bērniem nepieejamā vietā.
3. Produkta specifikācijas
| Funkcija | Specifikācija |
|---|---|
| Modeļa numurs | RR400W |
| Ievades apjomstage | 100-250V maiņstrāva, 50/60Hz |
| Maksimālā slodze | 10A / 2500W |
| Bezvadu protokols | Wi-Fi 2.4GHz (IEEE 802.11 b/g/n) |
| Izmēri (G x P x A) | 4.8 x 4.2 x 2.3 cm (1.89 x 1.65 x 0.91 collas) |
| Kontroles metode | Remote (App), Voice |
| Saderība | Amazon Alexa, Google Assistant, Smart Life App, Tuya App |
| Sertifikāti | CE, RoHS, FCC |
4. Instalācijas rokasgrāmata
The LoraTap WiFi Smart Relay Switch is designed for easy integration into existing electrical systems. It requires a neutral wire for operation.
Elektroinstalācijas shēma:
- Atvienot barošanu: Before starting, turn off the power at the main circuit breaker to avoid electrical shock.
- Identificējiet vadus: Locate the Live (L) and Neutral (N) input wires from your power source, and the Live (L) and Neutral (N) load wires going to your appliance (e.g., lamp).
- Savienot ieeju: Connect the Live input wire to the 'L in' terminal and the Neutral input wire to the 'N in' terminal on the LoraTap switch.
- Izejas pievienošana: Connect the Live load wire to the 'L out' terminal and the Neutral load wire to the 'N out' terminal on the LoraTap switch.
- Droši savienojumi: Ensure all wire connections are secure. The device supports 26-16AWG wires.
- Montāžas ierīce: The compact size allows installation in narrow spaces, such as behind a socket or in a ceiling rose. Use the provided mounting accessories if needed.
- Atjaunot jaudu: Once all connections are secure and the device is properly mounted, restore power at the circuit breaker.

Image 4.1: Simplified wiring diagram for the LoraTap Smart Relay Switch. Ensure a neutral wire is present for installation.
5. Lietotnes iestatīšana un savienošana pārī
To control your LoraTap Smart Relay Switch, you need to download the Smart Life or Tuya app and pair the device.
Prasības:
- A smartphone (Android or iOS).
- A 2.4GHz Wi-Fi network. 5GHz networks are not supported.
- The Smart Life or Tuya app installed on your smartphone.
Pārī savienošanas soļi:
- Lejupielādēt lietotni: Meklēt "Smart Life" or "Tuya Smart" in your smartphone's app store (App Store for iOS, Google Play for Android) and install it.
- Reģistrēties/Pieslēgties: Atveriet lietotni un reģistrējiet jaunu kontu vai piesakieties ar esošu.
- Pievienot ierīci: Tap the "+" icon in the top right corner of the app to add a new device. Select "Electrical Switch" or "Switch (Wi-Fi)".
- Ieiet savienošanas pārī režīmā: Power on the LoraTap switch. If the indicator light is not blinking rapidly, press and hold the button on the switch for approximately 5 seconds until it blinks rapidly. This indicates pairing mode.
- Izveidojiet savienojumu ar Wi-Fi: In the app, confirm the indicator is blinking rapidly. Enter your 2.4GHz Wi-Fi network name and password.
- Pilnīga savienošana pārī: The app will search for and connect to the device. Once connected, you can rename the device for easier control.

Image 5.1: Easy pairing process with the Smart Life/Tuya app. Ensure your Wi-Fi network is 2.4GHz.
6. Darbība
The LoraTap Smart Relay Switch offers multiple control options for convenience.
6.1. Lietotnes vadība
Once paired, you can control your device from anywhere using the Smart Life or Tuya app on your smartphone.
- Ieslēgšanas/izslēgšanas vadība: Tap the switch icon in the app to turn your connected appliance on or off.
- Reāllaika statuss: The app displays the current status of your appliance, allowing you to verify if it's on or off remotely.
- Grupas vadība: You can group multiple LoraTap switches together in the app to control them simultaneously.
- Ierīces koplietošana: Kopīgojiet ierīces kontroli ar ģimenes locekļiem, izmantojot lietotni.

Image 6.1: Remote control via the Smart Life app.
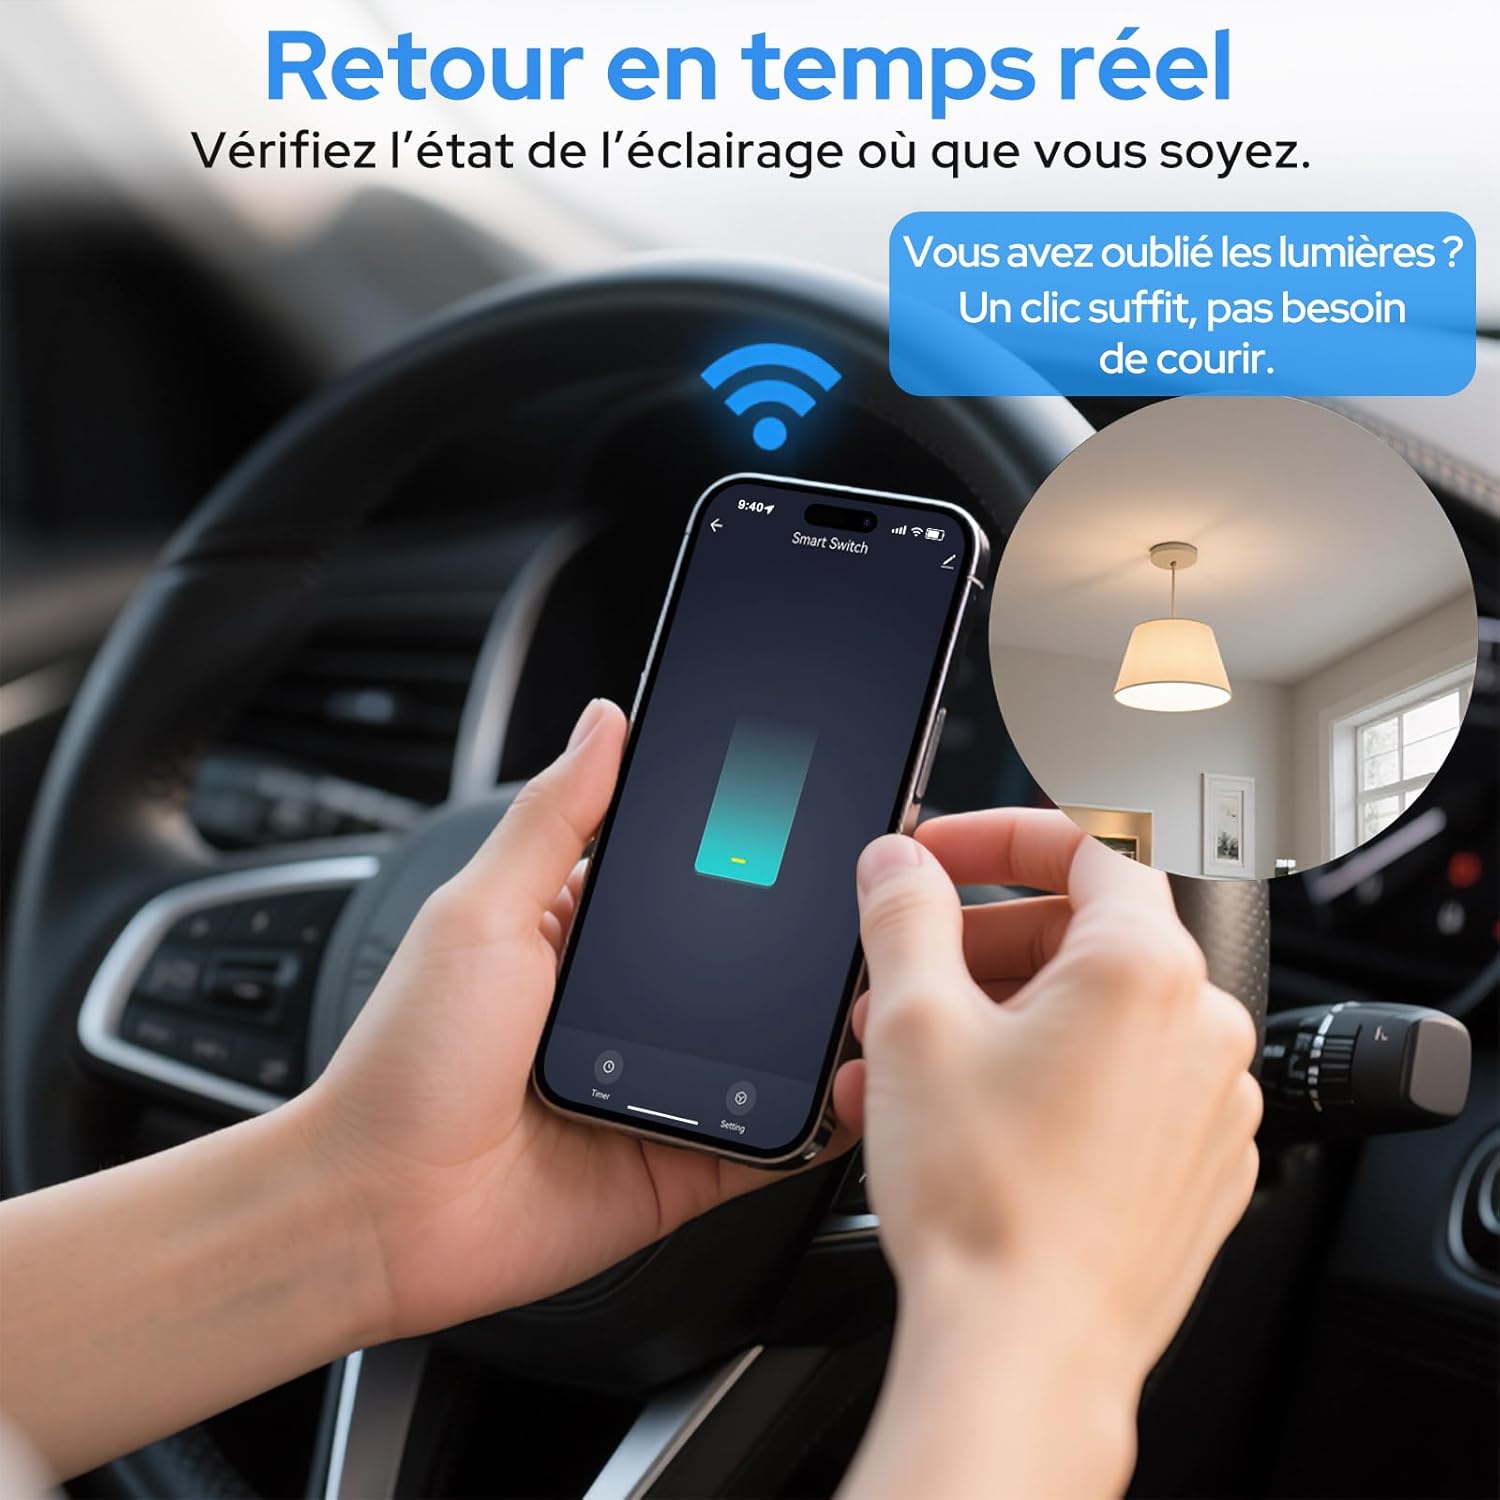
Image 6.2: Real-time status monitoring from anywhere.

Image 6.3: Device sharing feature for family members.
6.2. Balss vadība
The LoraTap Smart Relay Switch is compatible with Amazon Alexa and Google Assistant for convenient voice control.
- Saistīt kontu: Lietotnē Alexa vai Google Home pievienojiet savu Smart Life/Tuya kontu.
- Atklājiet ierīces: Palūdziet Alexa vai Google Assistant atklāt jaunas ierīces.
- Balss komandas: Use commands like "Alexa, turn on [device name]" or "Hey Google, turn off [device name]".

Image 6.4: Voice control integration with Amazon Alexa and Google Assistant.

Image 6.5: Family using voice commands for smart home control.
6.3. Plānošana un taimeri
Automate your appliances by setting schedules and timers within the Smart Life/Tuya app.
- Taimera funkcija: Set a countdown timer for the switch to turn on or off automatically after a specified duration.
- Plānošana: Create daily or weekly schedules for your appliance to turn on or off at specific times (e.g., turn on lights at sunset, turn off at bedtime).
- Atkārtošanas funkcija: Configure schedules to repeat on selected days of the week.

Image 6.6: Automate lighting with countdown timers.

Image 6.7: Program your lights with custom schedules.
6.4. Restart Status Settings
Configure the power-on state of your smart switch after a power outage.
- IZSLĒGTS: Pēc strāvas padeves atjaunošanas ierīce paliks izslēgta.
- ON: The device will turn on automatically after power is restored.
- Atcerēties pēdējo statusu: The device will return to its last known state (on or off) before the power outage.

Image 6.8: Configure the device's restart status after a power interruption.
7. Apkope
- Tīriet ierīci ar mīkstu, sausu drānu. Nelietojiet spēcīgas ķīmiskas vielas vai abrazīvus tīrīšanas līdzekļus.
- Ensure the device is kept in a dry environment and away from direct sunlight or extreme temperatures.
- Regularly check for firmware updates in the Smart Life/Tuya app to ensure optimal performance and security.
8. Traucējummeklēšana
| Problēma | Iespējamais cēlonis/risinājums |
|---|---|
| Device not pairing / Indicator not blinking rapidly. |
|
| Ierīce lietotnē ir bezsaistē. |
|
| Balss vadība nedarbojas. |
|
| Device not responding to manual switch. |
|
9. Garantija un atbalsts
LoraTap offers a 3-year warranty for this product. For technical support or warranty claims, please contact LoraTap customer service through their official webvietnē vai mazumtirgotājā, kur iegādājāties produktu.
Kontaktinformācija: Please refer to the packaging or LoraTap's official webvietni, lai iegūtu visjaunāko atbalsta kontaktinformāciju.


