1. Produkts beidziesview
The ANENG Q1 is a 9999 counts True RMS digital multimeter designed for accurate measurement of various electrical parameters. It features an EBTN black screen with a large, backlit LCD for clear readability in diverse lighting conditions. This device supports both automatic and manual ranging, offering flexibility for different measurement needs. It includes an analog bar graph display for quick visual indication of readings.
Galvenās funkcijas:
- Patiesais RMS mērījums: Nodrošina precīzus nesinusoidālu viļņu formu nolasījumus.
- NCV (bezkontakta sējtage) Atklāšana: For safe identification of live wires without direct contact.
- Automātiska/manuāla diapazona izvēle: User-selectable measurement range for convenience and precision.
- Analog Bar Graph: Visual representation of measurement trends.
- Liels, ar fona apgaismojumu aprīkots LCD ekrāns: Enhanced visibility in low-light environments.
- Pārslodzes aizsardzība: Nodrošina drošību visos mērījumu diapazonos.
- Zema akumulatora uzlādes līmeņa indikators: Brīdinājumi, kad nepieciešama akumulatora nomaiņa.
- Datu aizturēšanas funkcija: Iesaldē attēloto rādījumu, lai to būtu vieglāk ierakstīt.
- Automātiskā izslēgšana: Taupa akumulatora darbības laiku.
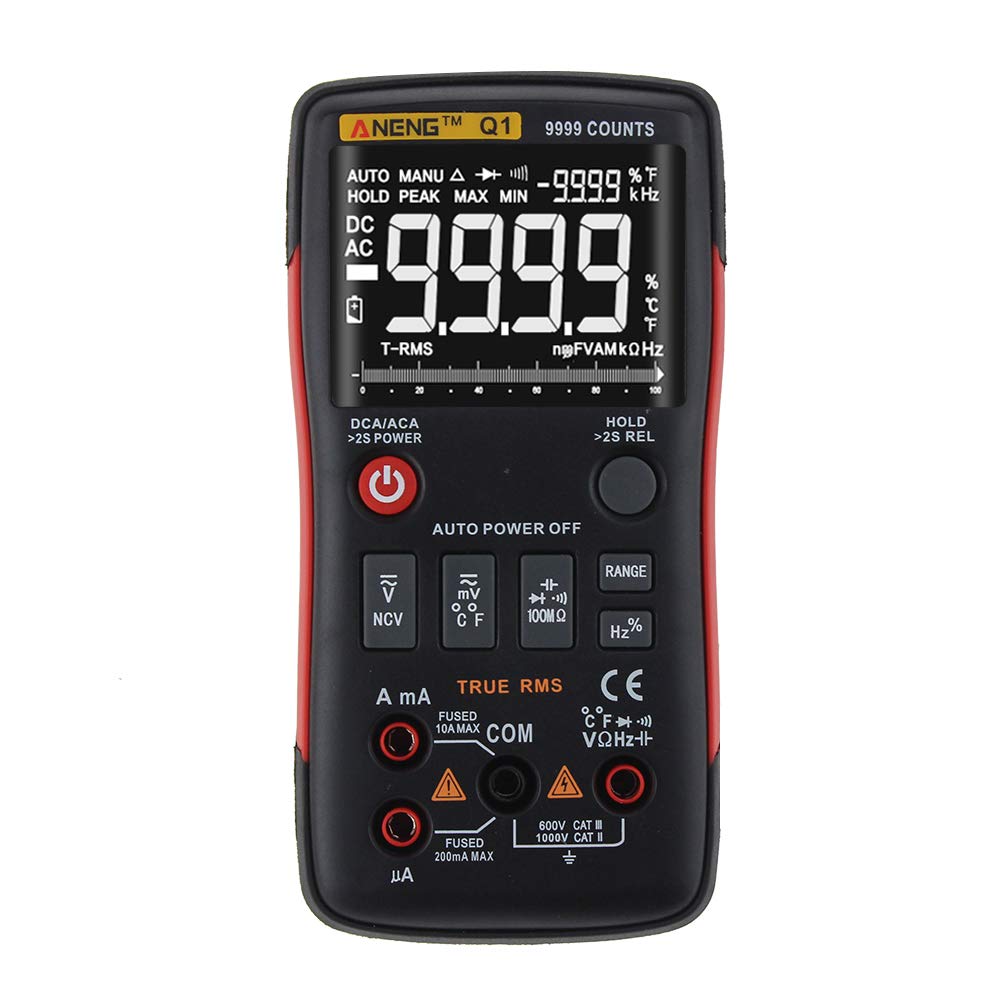
Figure 1: ANENG Q1 Digital Multimeter with its display and function buttons.
2. Drošības informācija
Always observe basic safety precautions when using this multimeter to prevent personal injury or damage to the device. Read and understand all safety information before operation.
- Nepārsniedziet nevienas funkcijas maksimālās ievades vērtības.
- Esiet piesardzīgs, strādājot ar voltagvirs 30 V maiņstrāvas RMS, 42 V maksimālās jaudas vai 60 V līdzstrāvas. Šie spriegumitagtas rada trieciena risku.
- Before measuring current, ensure the circuit is de-energized and the multimeter is connected in series.
- Always disconnect test leads from the circuit before changing functions.
- Inspect test leads for damaged insulation or exposed metal before use. Replace if damaged.
- Do not operate the multimeter if the battery cover is not properly closed.
- Lai nodrošinātu precīzus rādījumus, nekavējoties nomainiet baterijas, tiklīdz parādās zema bateriju līmeņa indikators.
- Ievērojiet vietējos un valsts drošības noteikumus.
3. Iestatīšana
3.1 Akumulatora uzstādīšana
- Ensure the multimeter is powered off.
- Atrodiet akumulatora nodalījumu ierīces aizmugurē.
- Noskrūvējiet akumulatora nodalījuma vāku un noņemiet to.
- Insert two 1.5V AA batteries, observing the correct polarity (+/-).
- Uzlieciet atpakaļ akumulatora vāciņu un nostipriniet to ar skrūvi.
3.2 Testa vadu pievienošana
The multimeter comes with a set of test leads. Always connect the black lead to the 'COM' (Common) jack. Connect the red lead to the appropriate input jack based on the measurement function:
- VΩHz+ jack for Voltage, pretestības, frekvences, kapacitātes, diodes un nepārtrauktības mērījumi.
- mA jack for current measurements up to 999.9mA.
- 10A jack for current measurements up to 10A.

Figure 2: Included test leads and probes.

Figure 3: Complete ANENG Q1 Multimeter kit with accessories.
4. Lietošanas instrukcijas
The ANENG Q1 multimeter offers both automatic and manual ranging. Press the 'RANGE' button to switch between auto and manual modes. In manual mode, press 'RANGE' repeatedly to cycle through available ranges.
4.1 Ieslēgšana/izslēgšana
Press the red power button to turn the multimeter on or off. The device features an auto power-off function to conserve battery life after a period of inactivity.
4.2. Maiņstrāvas/līdzstrāvas mērīšana Voltage (V)
- Connect the black test lead to the 'COM' jack and the red test lead to the 'VΩHz+' jack.
- Izvēlieties sējtage measurement function (AC V or DC V) using the function button.
- Pievienojiet testa zondes paralēli pāri mērāmajai ķēdei vai komponentam.
- Izlasiet sējtage vērtība displejā.
4.3 Measuring AC/DC Current (A/mA/µA)
- Svarīgi: Ensure the circuit is de-energized before connecting the multimeter for current measurement.
- Connect the black test lead to the 'COM' jack. Connect the red test lead to the 'mA' jack for currents up to 999.9mA, or to the '10A' jack for currents up to 10A.
- Select the current measurement function (AC A or DC A).
- Open the circuit and connect the multimeter in series with the load.
- Re-energize the circuit and read the current value on the display.
4.4 Pretestības (Ω) mērīšana
- Connect the black test lead to 'COM' and the red test lead to 'VΩHz+'.
- Select the resistance measurement function.
- Pirms pretestības mērīšanas pārliecinieties, vai ķēde vai komponents ir atvienots no strāvas.
- Pievienojiet testa zondes komponentam.
- Displejā nolasiet pretestības vērtību.
4.5 Measuring Capacitance (F)
- Connect the black test lead to 'COM' and the red test lead to 'VΩHz+'.
- Select the capacitance measurement function.
- Ensure the capacitor is fully discharged before measurement to prevent damage to the multimeter.
- Pievienojiet testa zondes kondensatora spailēm.
- Displejā nolasiet kapacitātes vērtību.
4.6 Measuring Frequency (Hz) and Duty Cycle (%)
- Connect the black test lead to 'COM' and the red test lead to 'VΩHz+'.
- Select the frequency/duty cycle measurement function.
- Pievienojiet testa zondes signāla avotam.
- Read the frequency or duty cycle value on the display.
4.7 Measuring Temperature (°C/°F)
- Connect the temperature probe to the appropriate input jacks (usually 'COM' and 'VΩHz+' or dedicated temperature jacks if available).
- Select the temperature measurement function.
- Novietojiet temperatūras zondes galu uz vai tuvu objektam, kura temperatūra tiks mērīta.
- Nolasiet temperatūras vērtību displejā.
4.8. Diodes tests
- Connect the black test lead to 'COM' and the red test lead to 'VΩHz+'.
- Select the diode test function.
- Pievienojiet sarkano zondi diodes anodam un melno zondi diodes katodam.
- Displejā būs redzams skaļums uz priekšutage drop. Reverse the probes; an open circuit (OL) indicates a good diode.
4.9. Nepārtrauktības pārbaude
- Connect the black test lead to 'COM' and the red test lead to 'VΩHz+'.
- Izvēlieties nepārtrauktības pārbaudes funkciju.
- Pievienojiet testa zondes ķēdei vai komponentam.
- Nepārtraukts pīkstiens norāda uz zemas pretestības ceļu (nepārtrauktību).
4.10 NCV (bezkontakta tilpums)tage) noteikšana
- Select the NCV function.
- Bring the top of the multimeter close to the conductor or outlet.
- The device will indicate the presence of AC voltage through an audible alarm and/or visual indicator.
5. Apkope
5.1. Tīrīšana
Noslaukiet korpusu ar reklāmuamp cloth and mild detergent. Do not use abrasives or solvents. Ensure the device is completely dry before use.
5.2. Uzglabāšana
When not in use for extended periods, remove the batteries to prevent leakage. Store the multimeter in a cool, dry place, away from direct sunlight and extreme temperatures. The recommended storage conditions are -20°C to 60°C (-4°F to 140°F) with humidity less than 80% RH.
6. Traucējummeklēšana
- Nav displeja: Pārbaudiet bateriju ievietošanu un pārliecinieties, vai tās nav izlādējušās. Nomainiet tās, ja nepieciešams.
- Nepareizi lasījumi: Verify that the correct function and range are selected. Ensure test leads are properly connected and not damaged. Check battery level.
- 'OL' (Overload) Display: The measured value exceeds the selected range or the maximum input limit. Switch to a higher range or ensure the input is within the device's specifications.
- Nav nepārtrauktības pīkstiena: Check if the circuit is truly continuous and has very low resistance. Ensure test leads are making good contact.
7. Specifikācijas
7.1 Elektriskās specifikācijas

Figure 4: Electrical Specifications - DC and AC Voltage.

Figure 5: Electrical Specifications - DC and AC Current, and Resistance.

Figure 6: Electrical Specifications - Capacitance, Frequency, and Duty Cycle.

Figure 7: Electrical Specifications - Temperature, Diode, Continuity, and NCV.
7.2 General, Mechanical, and Environmental Specifications

Figure 8: General, Mechanical, and Environmental Specifications.
| Parametrs | Vērtība |
|---|---|
| Displejs | 9999 skaitļu LCD ekrāns |
| Rādīšana | Automātiski/Manuāli |
| Materiāls | ABS+TPE |
| Atjaunināšanas ātrums | 3 reizes sekundē |
| Patiesa RMS | Jā |
| Datu aizturēšana | Jā |
| Fona apgaismojums | Jā |
| Zema akumulatora uzlādes līmeņa indikators | Jā |
| Automātiskā izslēgšanās | Jā |
| Parametrs | Vērtība |
|---|---|
| Izmērs | 146*74*34mm |
| Svars | 125g |
| Akumulatora tips | 2 x 1.5 V AA baterija (nav iekļauta) |
| Parametrs | Vērtība |
|---|---|
| Darba temperatūra | 0-40°C |
| Darba mitrums | <75% RH |
| Uzglabāšanas temperatūra | -20-60°C |
| Uzglabāšanas mitrums | <80% RH |
8. Garantija un atbalsts
8.1 Garantija
This ANENG Q1 Digital Multimeter comes with a viena gada garantija from the date of purchase, covering manufacturing defects. This warranty does not cover damage caused by misuse, accident, unauthorized modification, or normal wear and tear. Please retain your proof of purchase for warranty claims.
8.2 Klientu atbalsts
For technical assistance, troubleshooting, or warranty inquiries, please contact the retailer or manufacturer's customer service. Refer to your purchase documentation for specific contact details.


