1. Ievads
Thank you for choosing the CREATE NETBOT S40 Robot Vacuum and Mop. This manual provides essential information for the safe operation, maintenance, and troubleshooting of your device. Please read it thoroughly before first use and retain it for future reference.
2. Drošības instrukcijas
Lai samazinātu traumu vai bojājumu risku, ievērojiet šādus drošības pasākumus:
- Šo ierīci var lietot bērni vecumā no 8 gadiem un personas ar ierobežotām fiziskām, sensoriskām vai garīgām spējām vai pieredzes un zināšanu trūkumu, ja viņiem ir sniegta uzraudzība vai norādījumi par ierīces lietošanu drošā veidā un viņi saprot ar to saistītos riskus. .
- Bērni nedrīkst spēlēties ar ierīci. Tīrīšanu un lietotāja apkopi nedrīkst veikt bērni bez uzraudzības.
- Ensure the robot is placed on a stable, level surface.
- Nepakļaujiet robotu ūdens vai citu šķidrumu iedarbībai.
- Turiet matus, vaļīgu apģērbu, pirkstus un visas ķermeņa daļas tālāk no atverēm un kustīgajām daļām.
- Nedarbiniet robotu vietās ar atklātu liesmu vai sprādzienbīstamiem materiāliem.
- Use only the original charging adapter and battery provided by the manufacturer.
- Before cleaning or maintenance, always switch off the robot and unplug it from the power source.
3. Iepakojuma saturs
Pārliecinieties, vai iepakojumā ir visas preces:
- CREATE NETBOT S40 Robot Vacuum and Mop
- Uzlādes doks
- Strāvas adapteris
- Tālvadības pults
- Sānu birstes (2 pāri)
- Main Brush (pre-installed + 1 spare)
- Putekļu tvertne
- Ūdens tvertne ar mopa paliktni
- Tīrīšanas rīks
- Lietotāja rokasgrāmata
4. Produkts beidziesview
Familiarize yourself with the components of your CREATE NETBOT S40.

4.1. attēls: Augšdaļa view of the CREATE NETBOT S40 robot vacuum, showing the main unit, a roller brush, a smartphone displaying the control app, and the remote control.

4.2. attēls: Apakšdaļa view of the robot, illustrating the main brush, side brushes, wheels, and various sensors.
Robotu sastāvdaļas
- Augšējais vāks: Houses the dust bin/water tank.
- Barošanas/sākšanas poga: Initiates or pauses cleaning.
- Uzlādes kontakti: For automatic charging at the dock.
- Sānu sukas: Sweep debris into the main brush path.
- Galvenā birste: Collects dust and debris from the floor.
- Putekļu tvertne: Savāc sausos gružus.
- Ūdens tvertne: Uztur ūdeni tīrīšanai.
- Mopa paliktnis: Piestiprināms pie ūdens tvertnes mitrai tīrīšanai.
- Klinšu sensori: Detect edges and prevent falls.
- Buferis: Atklāj šķēršļus.
- Piedziņas riteņi: Propel the robot.
- Universālais ritenis: Provides steering.

Image 4.3: Close-up of the robot's top cover, showing the 'CREATE NETBOT S40' branding.
5. Iestatīšana
5.1 Uzlādes stacijas novietojums
Place the charging dock against a wall in an open, uncluttered area. Ensure there is at least 1 meter (3 feet) of clear space on both sides and 2 meters (6 feet) in front of the dock. Plug the power adapter into the dock and then into a wall outlet.

Image 5.1: The robot positioned next to its charging dock, illustrating proper placement.
5.2. Sākotnējā uzlāde
Place the robot onto the charging dock, ensuring the charging contacts align. The robot will emit a sound and the indicator light will illuminate, indicating it is charging. Fully charge the robot for 4-6 hours before its first use.
5.3 App Connection (Wi-Fi & Alexa)
For full functionality, download the CREATE Home app from your smartphone's app store. Follow the in-app instructions to connect your NETBOT S40 to your home Wi-Fi network. Once connected, you can link the app to Alexa for voice control.
- Download the 'CREATE Home' app.
- Reģistrējieties vai piesakieties savā kontā.
- Add your device by selecting 'Robot Vacuum' and following the pairing instructions.
- Pārliecinieties, vai jūsu Wi-Fi tīkls ir 2.4 GHz.

Image 5.2: The robot shown alongside a smartphone displaying the CREATE Home app interface, indicating successful connection and mapping capabilities.
6. Lietošanas instrukcijas
6.1 Tīrīšanas sākšana/pauze
- From Robot: Press the power button on the robot's top cover.
- From Remote Control: Nospiediet pogu “Sākt/Pauze”.
- No lietotnes: Tap the 'Start' button in the CREATE Home app.
6.2. Tīrīšanas režīmi
The NETBOT S40 offers various cleaning modes:
- Automātiskā tīrīšana: Robots inteliģenti pārvietojas un iztīra visu grīdas platību.
- Vietas tīrīšana: Koncentrē tīrīšanu uz noteiktu nelielu laukumu.
- Malu tīrīšana: Tīra gar sienām un mēbeļu malām.
- Plānotā tīrīšana: Izmantojot lietotni, iestatiet konkrētus laikus, kuros robots veiks automātisku tīrīšanu.
6.3. Slaucīšanas funkcija
Lai izmantotu mopēšanas funkciju:
- Fill the water tank with clean water. Do not use detergents or harsh chemicals.
- Droši piestipriniet mopa paliktni ūdens tvertnei.
- Ievietojiet piepildīto ūdens tvertni robotā.
- Sāciet tīrīšanas ciklu. Robots veiks putekļsūcēju un slaucīšanu vienlaikus.

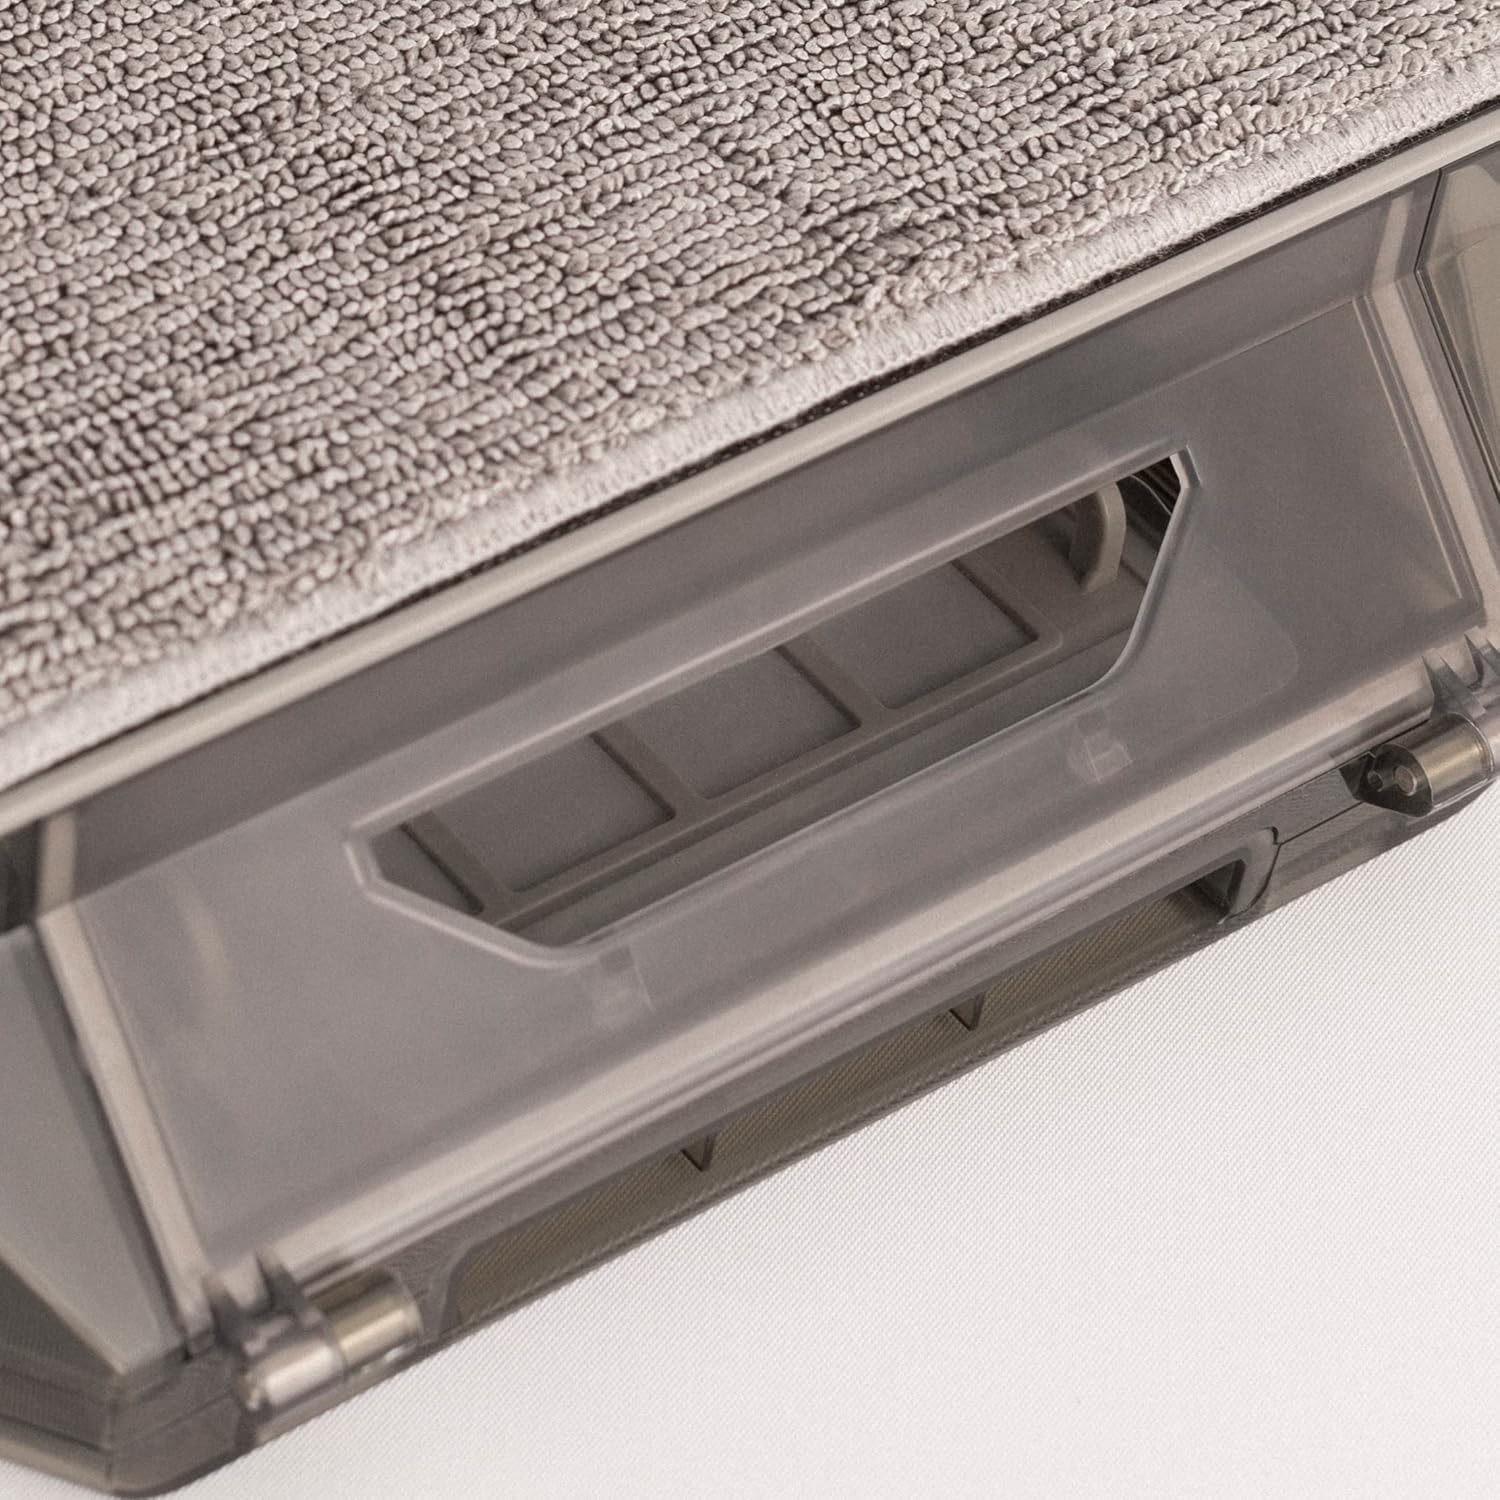
6.1. attēls: Tuvplāns view of the mop pad attached to the water tank, ready for installation into the robot.
7. Apkope
Regulāra apkope nodrošina optimālu veiktspēju un pagarina robota kalpošanas laiku.
7.1 Putekļu tvertnes un filtra tīrīšana
Empty the dust bin after each use and clean the filter regularly.
- Nospiediet atbrīvošanas pogu, lai izņemtu putekļu tvertni.
- Atveriet putekļu tvertnes vāku un iztukšojiet tās saturu.
- Remove the filter and tap it gently to remove dust. Do not wash the HEPA filter with water.
- Ja nepieciešams, izskalojiet putekļu tvertni ar ūdeni, pirms atkārtotas uzstādīšanas pārliecinoties, ka tā ir pilnībā sausa.
7.1. attēls: Detalizēts view of the dust bin and its filter compartment, showing how it integrates into the robot.
7.2 Galvenās birstes tīrīšana
Clean the main brush weekly to remove tangled hair and debris.
- Apgrieziet robotu otrādi un atrodiet galvenās birstes vāku.
- Remove the cover and lift out the main brush.
- Use the provided cleaning tool to cut and remove tangled hair.
- Uzstādiet atpakaļ galveno suku un vāku.
7.3 Sānu birstes tīrīšana
Inspect side brushes regularly for wear and tear, and clean them as needed.
- Viegli pavelciet sānu sukas uz augšu, lai tās noņemtu.
- Noņemiet visus matus vai gružus.
- If brushes are damaged, replace them with new ones.
- Press the new brushes firmly onto their posts until they click into place.
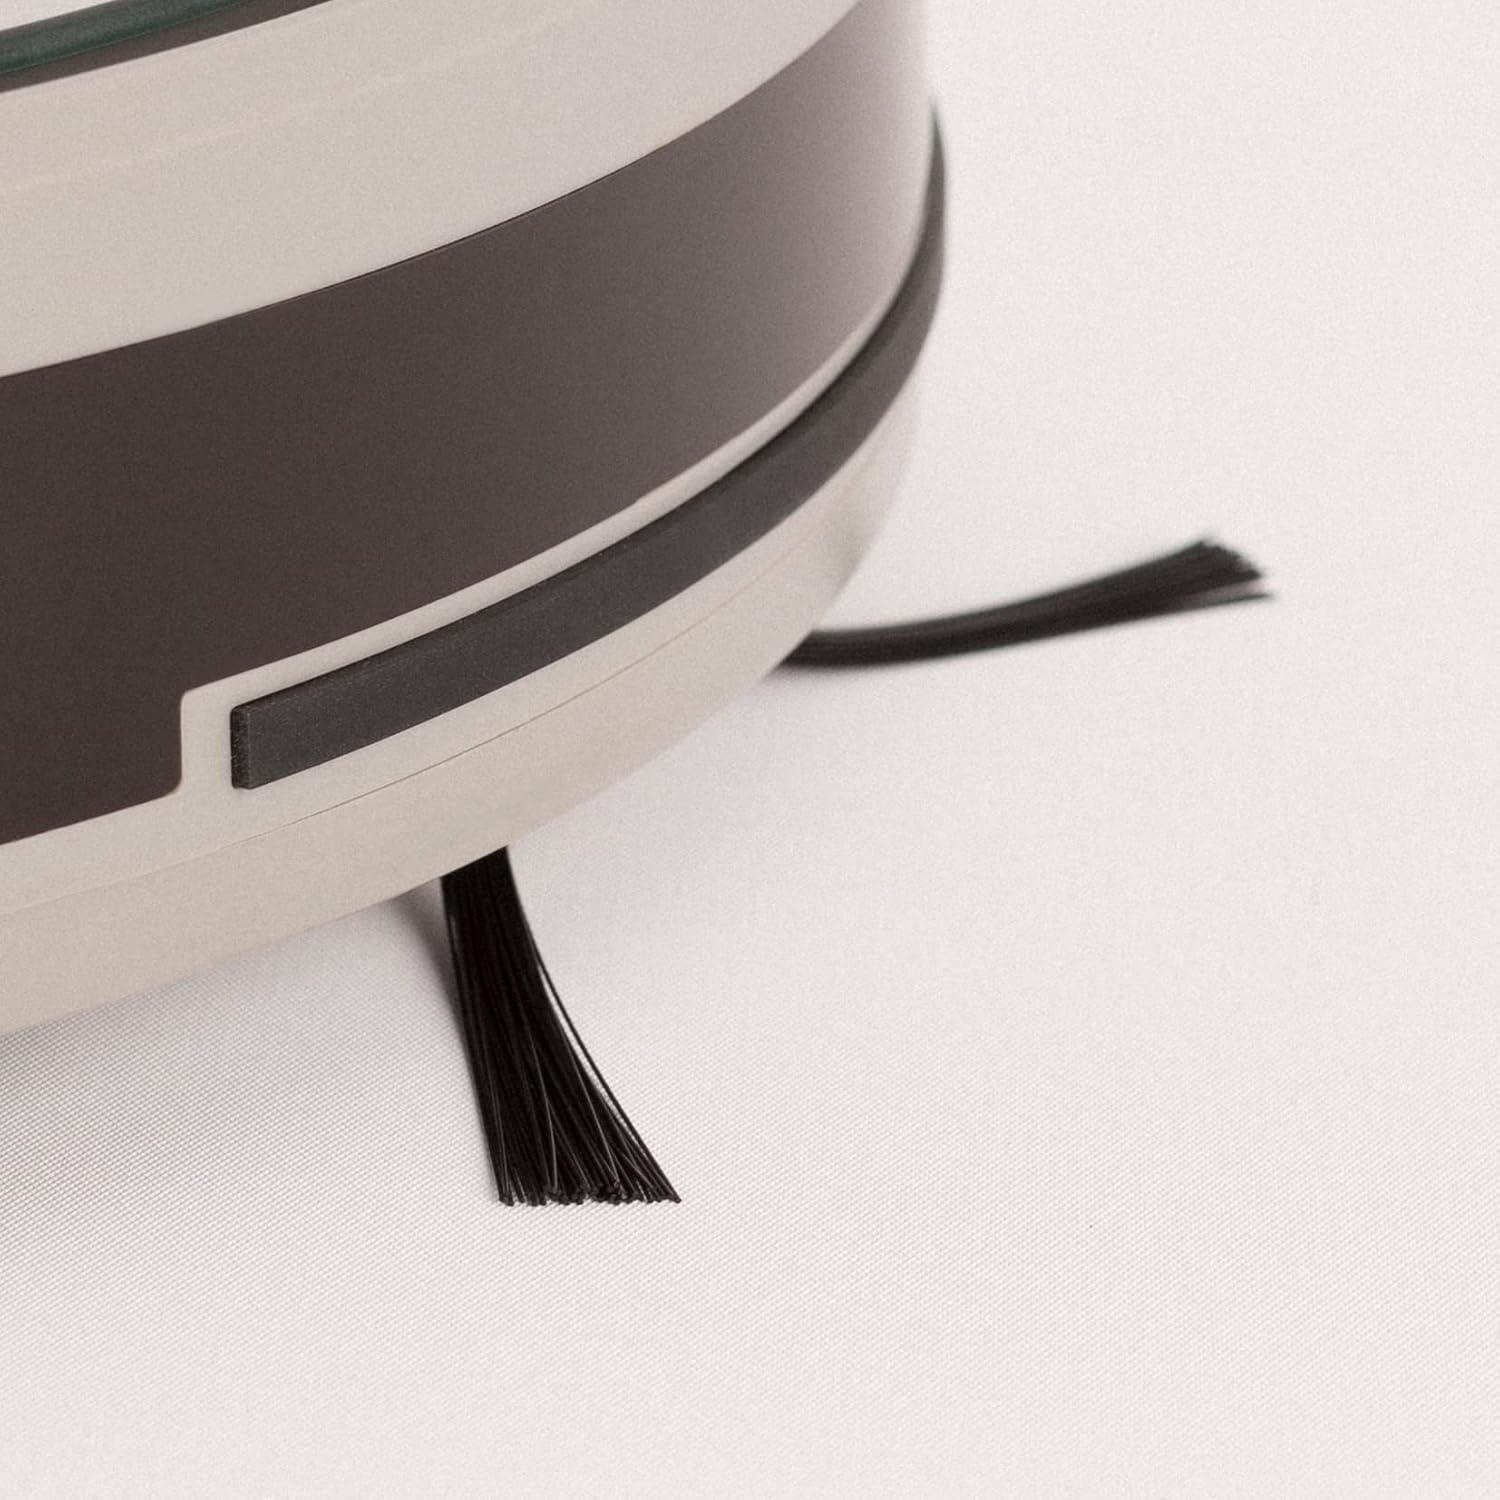
Image 7.2: Close-up of a side brush, showing its bristles and attachment point.
7.4 Water Tank and Mop Pad Cleaning
After each mopping session:
- Iztukšojiet atlikušo ūdeni no tvertnes.
- Remove the mop pad and rinse it thoroughly with water. Allow it to air dry.
- Iztīriet ūdens tvertni ar reklāmuamp audums.
7.5 Sensoru tīrīšana
Wipe all sensors (cliff sensors, bumper sensor) with a clean, dry cloth monthly to ensure proper navigation.
8. Traucējummeklēšana
If you encounter issues with your robot, refer to the following table:
| Problēma | Iespējamais cēlonis | Risinājums |
|---|---|---|
| Robots neieslēdzas | Zems akumulatora līmenis; izslēgts barošanas slēdzis | Uzlādējiet robotu; pārliecinieties, vai barošanas slēdzis ir ieslēgts |
| Robots nevar uzlādēties | Netīri uzlādes kontakti; Dokstacija nav ieslēgta | Notīriet uzlādes kontaktus; pārbaudiet strāvas adaptera savienojumu |
| Cleaning performance is poor | Putekļu tvertne pilna; Birstes sapinušās; Filtrs aizsērējis | Empty dust bin; Clean main/side brushes; Clean/replace filter |
| Robots bieži iestrēgst | Obstacles on floor; Cliff sensors dirty | Clear floor area; Clean cliff sensors |
| Lietotnes savienojums neizdodas | Nepareiza Wi-Fi parole; Maršrutētājs ir pārāk tālu; 5 GHz Wi-Fi | Verify password; Move robot closer to router; Ensure 2.4GHz Wi-Fi |
Ja problēma joprojām pastāv, lūdzu, sazinieties ar klientu atbalsta dienestu.
9. Specifikācijas
- Zīmols: IZVEIDOT
- Modeļa nosaukums: NETBOT S40
- Modeļa numurs: 130436_269434
- Sūkšanas jauda: 4000 Pa (as per product description)
- Akumulatora darbības laiks: Up to 220 minutes (as per product description)
- Savienojamība: Wi-Fi, App Control, Alexa compatible
- Izmēri: 64 x 40 x 12 cm (package dimensions)
- Preces svars: 116 Grams (as per specifications, likely product weight is higher, but using provided data)
- Iekļauts akumulators: Jā
10. Garantija un atbalsts
Your CREATE NETBOT S40 comes with a standard manufacturer's warranty. Please refer to the warranty card included in your package for specific terms and conditions, including warranty period and coverage.
For technical support, troubleshooting assistance, or to inquire about replacement parts, please contact CREATE customer service through their official webvietni vai kontaktinformāciju, kas sniegta jūsu produkta dokumentācijā.


